This has been the a very difficult and unusual post to write. Usually I pick costumes that are challenging, but relatively quick once I figure out how to make them. This was the opposite – It was a easy, but very, very time consuming. It’s also not a very interesting process, so I’ve padded the post with a lot of photos.
…
If this if your first time visiting my blog I would suggest checking out my previous posts about this project, they can be read here, here, and here!
…
Immediately after seeing the movie I knew what I wanted to use as embellishments. From prior experience with rhinestones, I knew that they shine in a way that almost looks like freshly fallen snow, producing a much prettier and sparklier look then anything else.
They can be used closely together to create designs, farther apart to create a gradient, or applied individually. This meant that I could use them to create the sparkles on the cape, sleeves and bodice, and since they would all share the same embellishments, it would made the entire outfit look more cohesive.
…
I have decided that I won’t bore you all too much with explaining the types of rhinestones, glues and applicators that are available.If I did, this post would be around five thousand words long. But if that sort of thing does interest you, you are in luck! I have created a separate post on my tumblr that can be read HERE. It answers a lot of the questions I’ve gotten, and has information and tips on everything related to rhinestones.
…
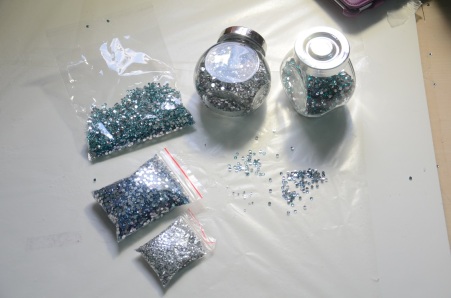
Moving onto talking about the costume! I originally purchased seventy thousand rhinestones, which didn’t end up being enough, so I made another order several weeks later. In total I used a little over a hundred thousand rhinestones on the entire costume, ninety thousand were 3mm stones, and ten thousand were 2mm stones. Seventy percent of them were clear (silver/white) stones, and the rest were a light aqua color.
This picture shows around half the stones I ended up using.
I also bought six tubes of E6000 glue from amazon, a set of syringes (glue applicators), cotton swabs (rhinestone applicators), and a bit of fabric glue. Once I had all my supplies I was ready to get started!
….
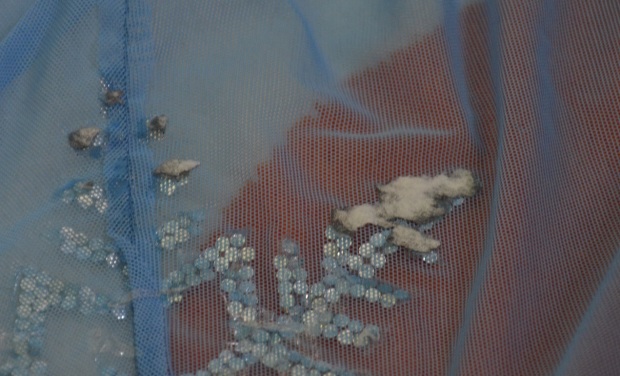
In my last post I talked about drafting the patterns for the designs. Once I finished drafting the designs, I did something very important – I taped wax paper over top of them. The glue I used for the majority of this costume is E6000, and the chemicals in it make both sharpie and printer inks run, which can leave permanent stains on the fabric. Like this…
If that doesn’t happen, you will still be screwed since there is no good way to get paper off of dried industrial strength glue. The wax paper creates a barrier between the paper and fabric which fixes both of these problems. When I ran out of wax paper, I used plastic wrap and found it worked well, but was tricky to perfectly smooth.
…
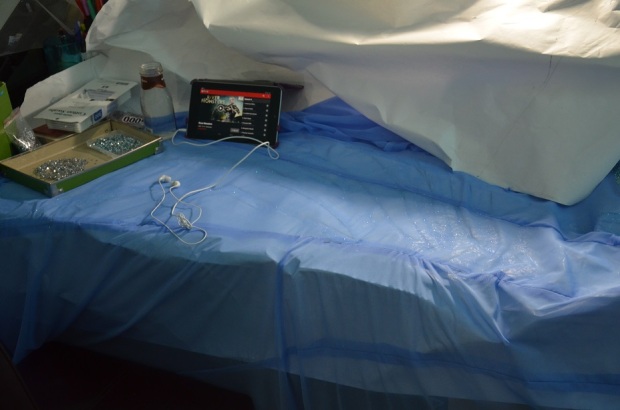
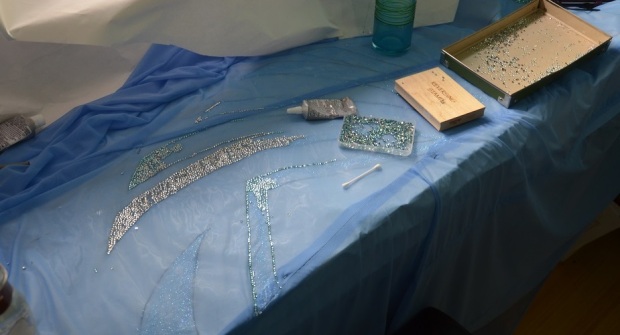
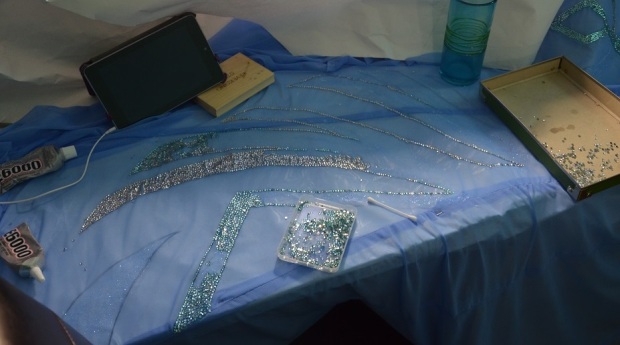
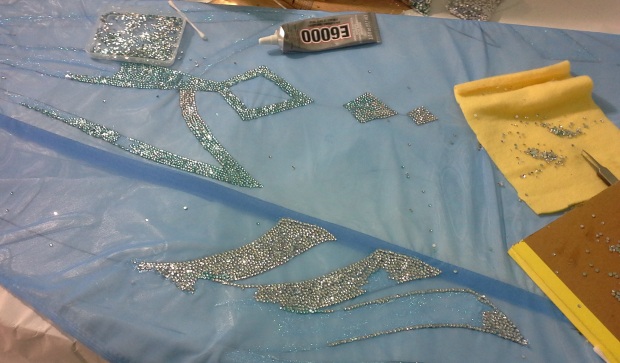
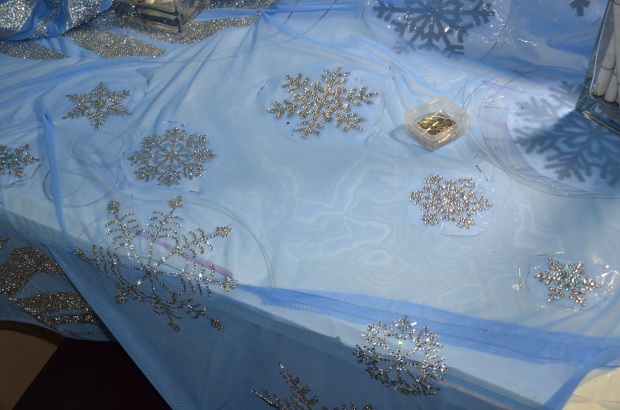
This is what my set up looked like when I was working on the large designs. The whole thing laid out flat as I could get it with the space I had available, with the edges weighted down by mugs and jars.
Thanks to a wonderful christmas gift, I had the ability to watch netflix while doing this.
(though I ended up running out of shows I was interested in, oops)
As I said earlier, the process is very easy, it’s just slow. You have to spread the glue over a small space, usually a square that’s no more then two inches by two inches (any larger and the glue will dry before you can get to it) or a line that is less then ten inches long.
Then use a wet Q-tip to pick up rhinestones and deposit them where they need to go.
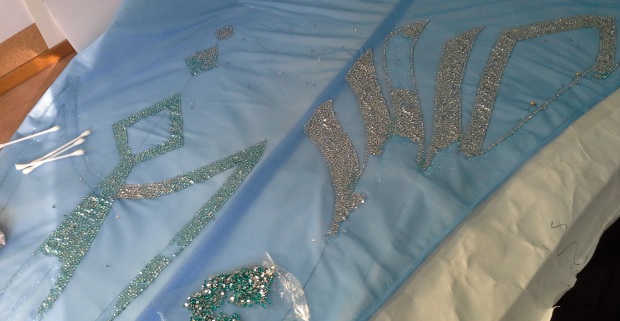
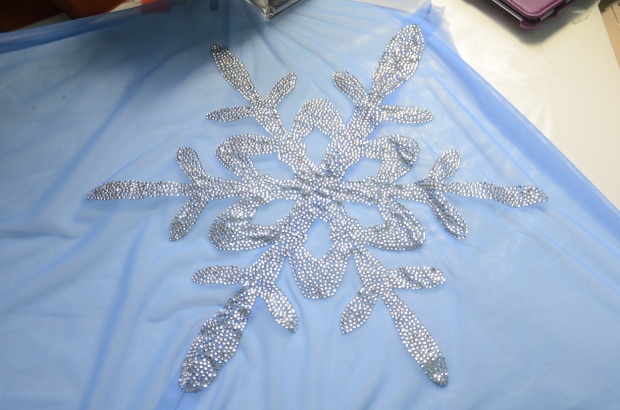
I estimate that this back bit of snowflake ended up taking forty hours of work.
And though this seems pretty minuscule, just the sections pictured below is around 10~ hours of work.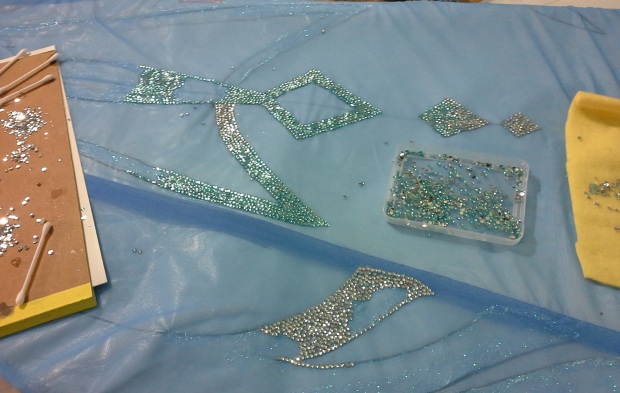
…
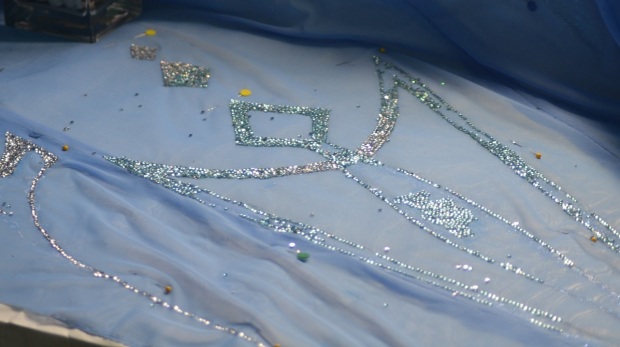
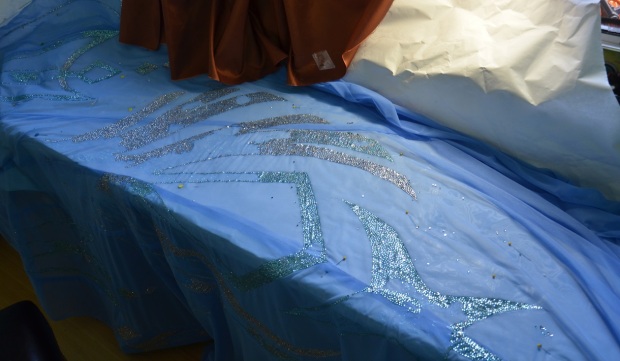
Eventually, I had enough of this finished that I could take it off of the paper.
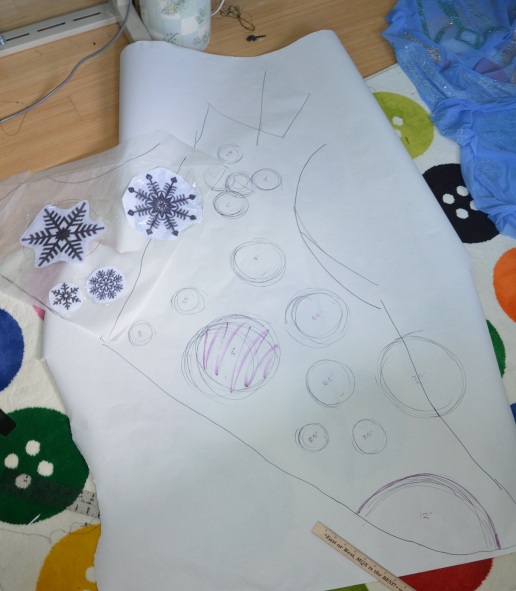
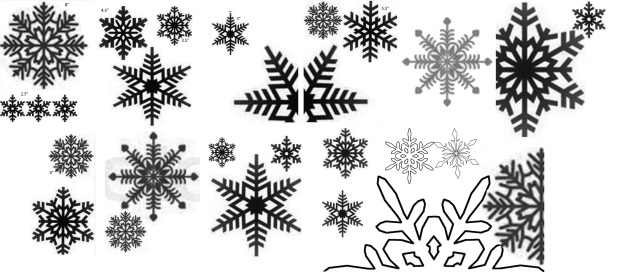
It didn’t look like a whole lot at this point. But I was happy because this meant I could move on to adding the snowflakes. In my last post I talked about resizing them to fit properly, and that process continued on and on until I had enough snowflakes for every panel.
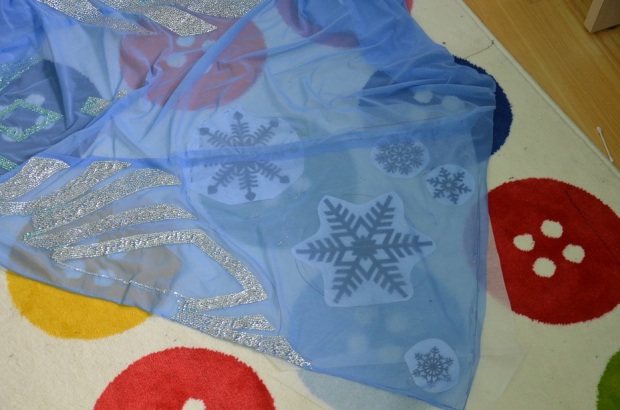
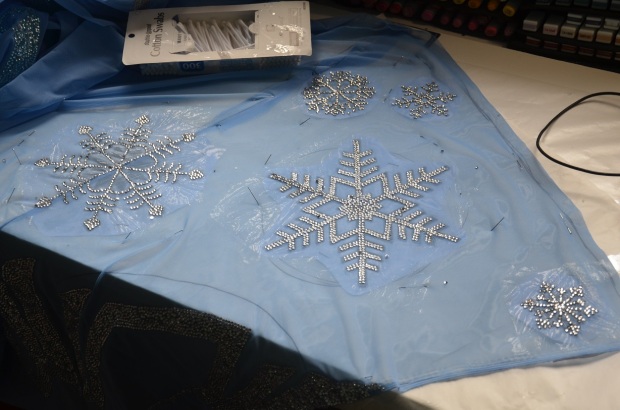
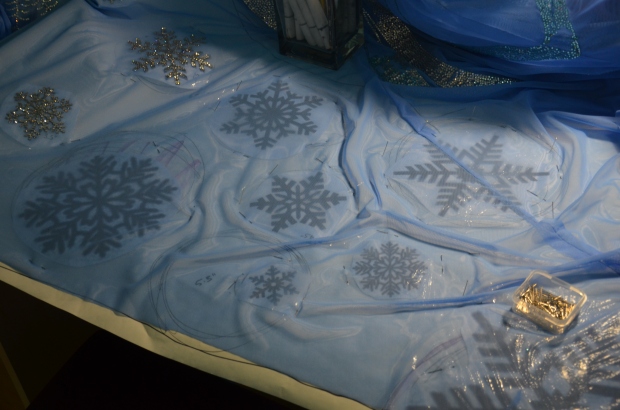
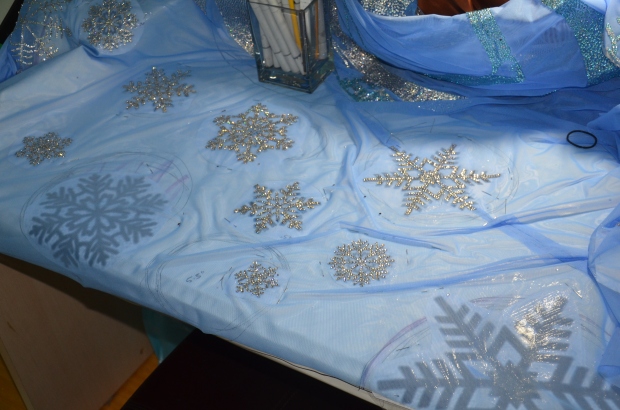
This is the front panel – this photo shows how easy it was to see the pattern through the fabric.
And the (tentative) layout for the side panels.
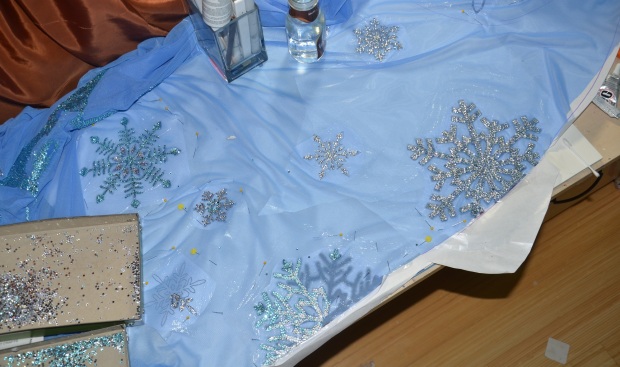
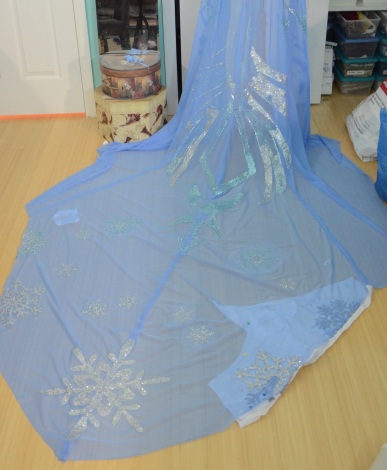
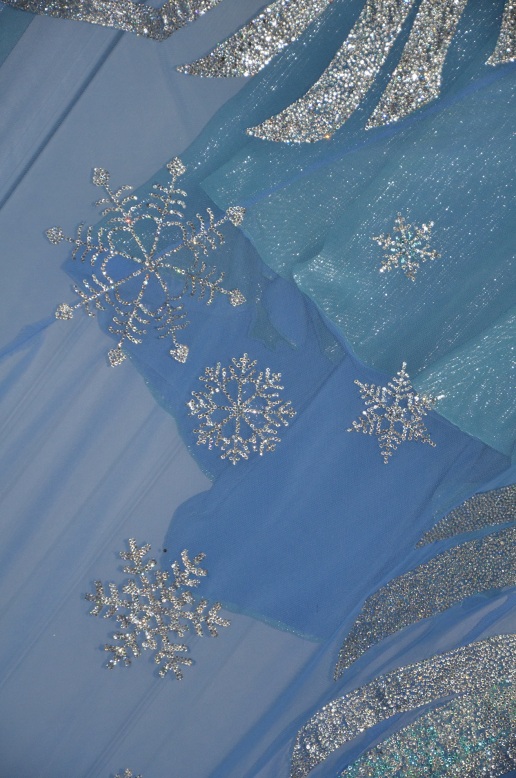
In total I embellished fifty snowflakes, and here they all are (well, half of them, since the cape is symmetrical)
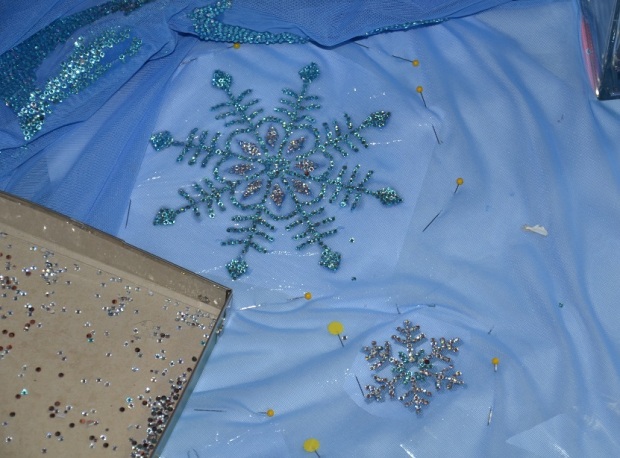
The process of embellishing snowflakes was very similar to the main design, but instead of spreading the glue with a brush I used syringes, which allow for very precise dots and lines.
Not long after I started I ran into the issue of fabric not staying in place properly. It tended to wrinkle or move while I was trying to apply stones, and it became very frustrating. So I taped two pieces of foam board together and covered it in wax paper. Since it was foam, I could pin through it, and pin my fabric in place so it stayed taught.
Back panels (almost) done!
The front panel almost finished.
The side panels…
And then I was (almost) finished with all the snowflakes!
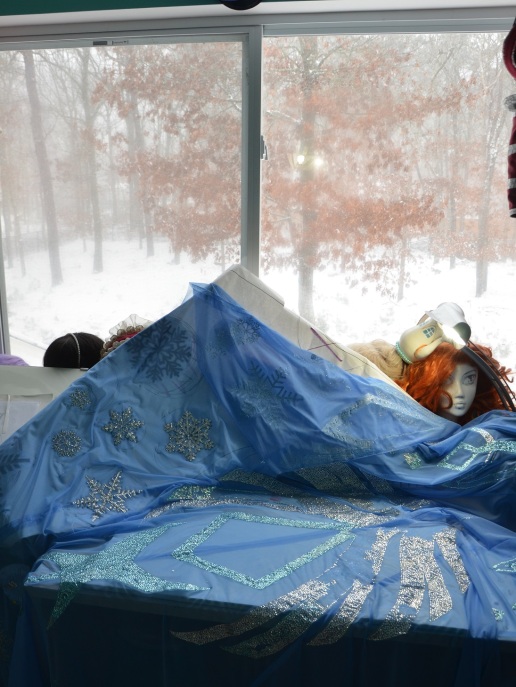
So I got back to focusing on the main design. We happened to get a snow day, which meant my view got way prettier and more inspiring then usual.
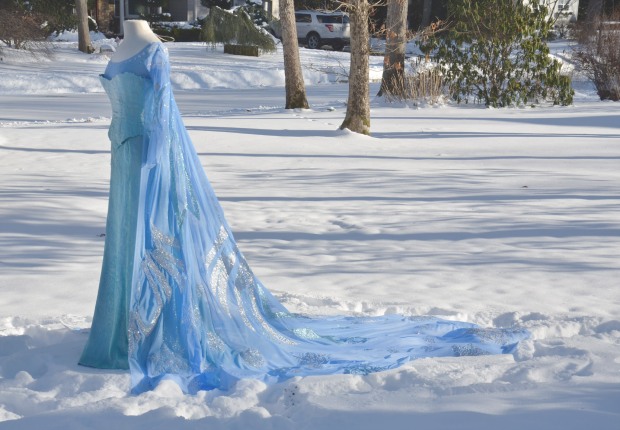
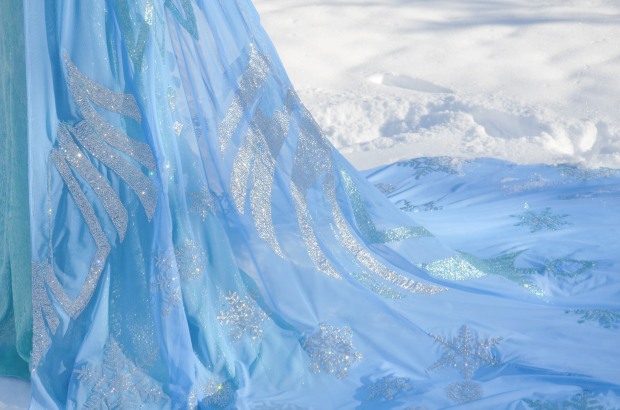
It also distracted me. Some much so that I ended up dragging my dress form into the snow for some fancy WIP photos.
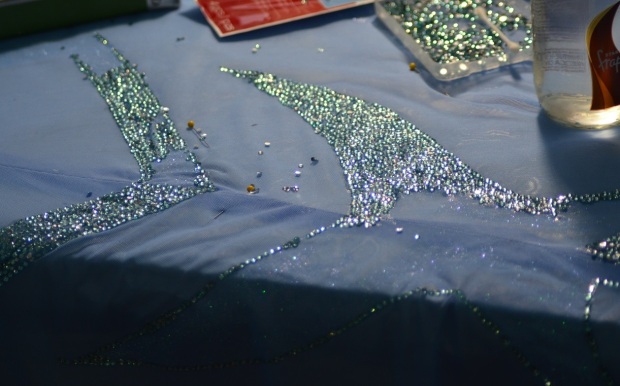
Though it looks relatively close to being done, I had to put twenty more hours into it before it was actually finished. At this point I was so tired of the project that I stopped taking photos. (oops)
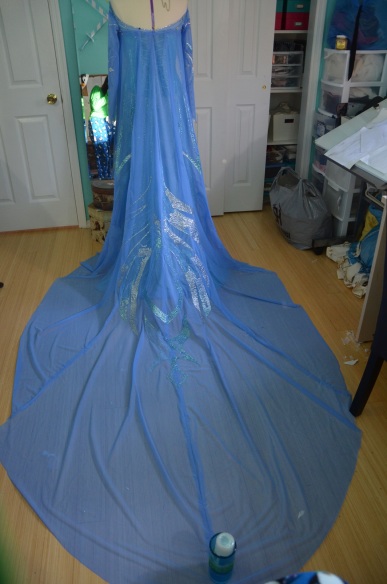
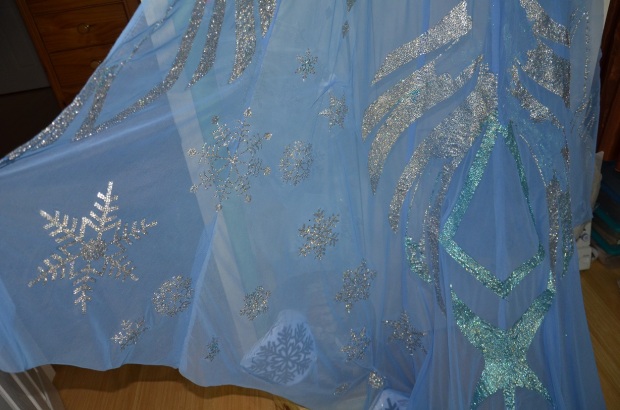
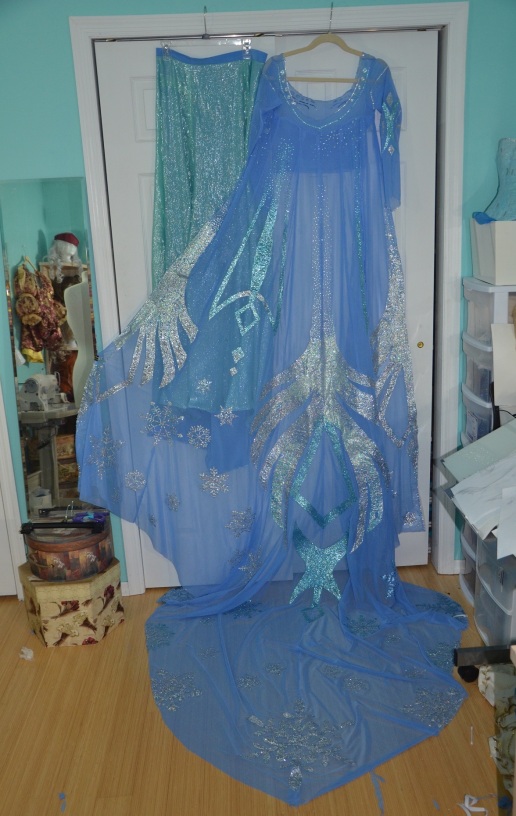
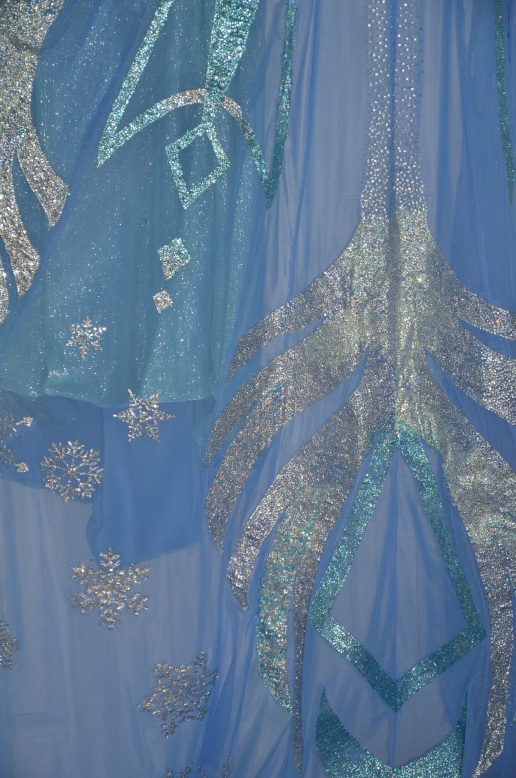
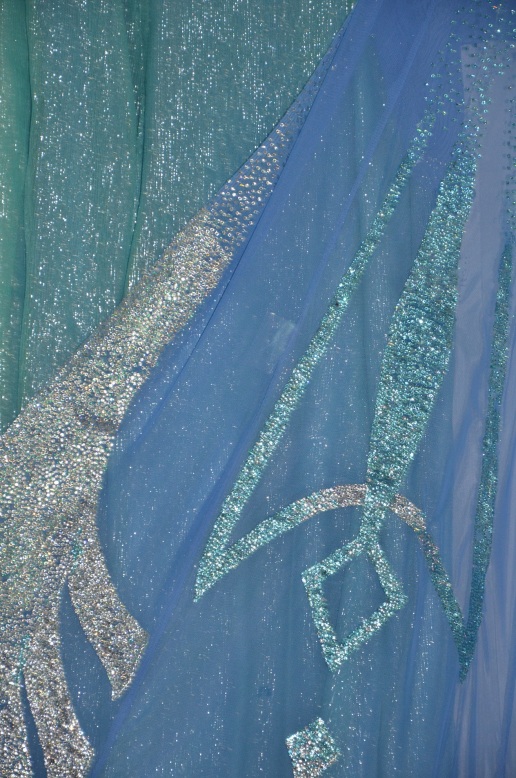
And though I don’t have photos of it completely finished just yet, here it is at 99.9% done. In total I spend around 170 hours on the cape, 168 of which were spend embellishing.
It was super time consuming, but in the end I’m happy I did it this way. It’s always been a dream of mine to make something really sparkly and wonderful, and i’m happy to say that it’s come true!
Upcoming posts: Making 17th century bodies, Making a Grey dress, and the final post in The making of Elsa!
LOVELY!!;.
that was such a good work!
I’m looking forward to see you in Elsa.
Kisses from Brazil,
H-sama
This is the most beautiful Elsa Cosplay dress that I have seen! The time that you spent on it is really obvious – in the best way possible. You’re going to be really beautiful as Elsa. It’s just wonderful.
This is absolutely stunning!!!
I am SO blown away by your craftsmanship, Angela. Your attention to detail is beyond inspirational, and the love and time you pour into each costume is amazing. Thank you for sharing your progress with us on your blog — it’s truly humbling!! Can’t wait to see it on you and the final “Making of” post!
I am normally just a lurker on your blog, enjoying how you go about making each costume – but I just wanted to tell you how impressed I am with your patience with all those rhinestones. The outdoor snow photos really capture how beautiful the rhinestones look against the sheer, tiny sparkles of light. Looking forward to your final photos xx
Absolutely breathtaking!! Can’t wait to see you in it. I wish I had an ounce of the perseverance you have.
That is most impressive.
I Absolutely love your cosplays, and one of the things i find most fascinating is the time and dedication you put into making them. It’s beautiful, and I’m looking forward to see you as Elsa 🙂
Best of luck! /hugs
That is amazing!!!!!! You have done an awesome job on this and I love it!!!!
Holy shit. Pardon my language, but nothing else would be sufficient to express how FREAKING AWESOME THIS IS. Well done. Seriously. I am stunned.
seeing all those rhinestones nearly made me cry ;7;
i can’t imagine the amount of patience and dedication you used to complete this arduous task!
Wow! That must of taken agains to put all those sequins on the dress! I am so jealous of your sewing ability, keep up the good work 😀
Thank you so much for sharing all your hard work and expertise. I learnt several new things from your blog, like how to apply glue using a syringe and the technique you used on your bodice! It’s so kind of you to share so much with us.
Did you find that the stretch mesh on the cape had any problems with distortion due to the weight of the rhinestones? I would have never thought to use mesh with so much tension on it, but did you find that because the hem rests on the ground instead of hanging freely that it wasn’t so much of a problem?
Thank you for the kind words!
The rhinestones are actually really light, since they are all plastic. The total amount of glue I used was twice as heavy as the weight of the stones. The train did get a bit weighted down, but not too much. I think the fact that it was weighted around the hem helped a lot too, when I walk in it has a tendency to lose it’s shape, but it lays out really nicely.
Awesome, thanks for letting me know!
Ooooh that is amazing! Question: why did you decide to do all the rhinestone shapes by hand instead of just using custom made hot fix transfers?
Thank you. The custom ones that you can order have to be below a certain size, so they wouldn’t work for me. I could have made the snowflake designs on transfer paper, then ironed them on to my costume, but all that does is add an unnecessary step. Hot-fix crystals are also much more expensive and time consuming to apply – using glue and placing them by hand was the only option for me.
I do dance/rhinestone stuff as a part time job. My advice (like you need it, lol!) is to check out DMC rhinestones for future projects with huge designs like this – they’re an awesome company that make near-Swarovski quality rhinestones for about 1/10 the price OR LESS. Not kidding! Very few people seem to know about them, because people are skeptical that such cheap rhinestones can look SOOOOO GOOD. Other brands for the same price are just blah. They don’t EXPLODE with light like Swarovski does, but they have the best sparkle of any brand outside of Swarovski and Preciosa. If you can get in contact with the factory and find someone who speaks good English (good luck), they can make HUGE custom hot fix rhinestone transfers, but you do need to use a heat press to apply them. http://www.blueforthotfix.com/Hotfix-Motifs-category239.html
Once again, so impressed. I know the time and skill that went into that!
You are amazing!! Very talented and certainly patient to place all those rhinestones by hand. Just want to give you a tip: http://www.crystalninja.com sells this really cool tool called the Crystal Katana for placing the rhinestones. I bought one for my small projects and couldn’t believe how useful this tool is. I can imagine it would make large projects go so much faster. You should check it out! (I do not work for Crystal Ninja, btw…just a big fan of hers.) Anyway, you’re very talented…keep up the awesome work!
My first thought while reading this: “Dayum this girl is crazy talented!”
My second thought while reading this: “She must not have cats.” 🙂
(P.S. – Saw you on Buzzfeed and I just had to check out your blog. You’re amazing!)
This is so impressive! I wish I had a tiny sliver of your talent for these things!!
Hi – Though I appreciate your interests and compliments about my costume, but I wanted to make it clear that I did not use swarovski crystals. Though I’m sure those are a completely valid option, and great suggestion, they aren’t what I used.
If you could please alter that part of your article I would really appreciate it!
Thanks.
That amount of Swarovski would be tens of thousands of dollars, even wholesale.
Magnificent. I love seeing people who love their hobbies (even when/if I don’t “get” them). To see someone love cosplay so much that she’ll spend a staggering amount of time to get this effect just makes me smile. I’m so glad there is that kind of love in the world.
Well, WELL done! Beautiful work.
You mentioned in the blog: “When I ran out of wax paper, I used plastic wrap and found it worked well, but was tricky to perfectly smooth”
I know you were working on quite large areas but an embroidery hoop may work well for you in holding together a layer of paper, glue-proof cover, and mesh. They do come relatively large if you look and many have adjustments to loosen the hoop and hold a thicker set of layers.
Quilting frame also comes to mind but I have no experience with them personally. Not certain how the fabrics are attached and held.
I suspect these suggestions are kind of moot. It’s probably going to be quite some time before you get into laying rhinestones on this kind of .scale again!
Very beautiful, you are so talented!!
Hi need a Elsa Dress for my girl she 5 for 14 can you do it you can call me at 732-770-9615 thanks
I love the dress and the work you did! I am trying to make one for my 4 year old because she is in love with Elsa. For the cape, is it separate or did you sew it on? And how do you attach it? Thanks!
Would it be a bit cheeky to ask where you purchased the rhinestones from? I’m too looking at making an elsa dress for the October comic con in London this year and was really inspired by your blog! I’m a bit dubious of some of the websites that I have looked at and would like to know if there is a trustworthy site that would also ship internationally? Many thanks, ZeeZee x
The reason I didn’t say where I bought them is because I had a terrible experience with the place I purchased mine and don’t want to direct any business to them.
Good luck with the costume!
this is just utterly incredible
How much fabric do you need for the whole dress
If you read each post I mention how much material I purchased/used for each garment.
The fabrics varied in widths and amounts used.
Reblogged this on Dan's Disney Fix and commented:
Im so scared about attempting this part of the dress. Looking at ways that i can make it easier and less time consuming, but this looks so amazing that i think im going to have to take that time to do it!
I love this and I want to try to make a costume but not this one. You are so talented.
WOW! Absolutely stunningly beautiful! I bet the pictures don’t do it justice.
YOU ARE A GODDESS!!! This looks amazing.
Just one word. AMAZING!
Found your Elsa costume while looking for an Elsa running outfit. OMG this is the best Elsa cloak ever! I’m not at all surprised by how long this took you, but it is so worth it. It looks amazing!! I am seriously impressed and lost for words. Very very very well done 🙂 Regards from London! MJ
Truly beautiful.
The most gorgeous costume I have ever seen 🙂 you are extremely talented! How much would you charge to make me one?
gorgeous and amazing ! you are very creative and talented ! 🙂
How did you make the sleeves I am working on an Elsa cosplay and I am stuck on that part.
OMG this dress is totally gorgeous and i have no idea how anyone could do it better than you even the disney version in Once upon a time hasn’t got such a wonderfull dress!
It would be amazing if coul could send or scan the pattern for each part of it upload!
Muchas felicidades eres a tu cortaedad ya toda una diseñadora. te hago una pregunta, ¿el pegamento es similar al UHU aqui en mexico?
What do you do when you’re done with the costumes? How do you store them?
wowww this is amazing!!! great job