This is part two of making my renaissance/baroque hybrid doublet! Part one talks about drafting the pattern and making the body of the garment, it can be read here.
I decided to keep the sleeves relatively simple to try and tie it back into the renaissance theme, in the 1600s doublets had fantastic paned sleeves which I REALLY want to attempt, but they don’t really suit this project. So I settled on a easy design with fancy cuffs and strips attaching it to the shoulder.
…
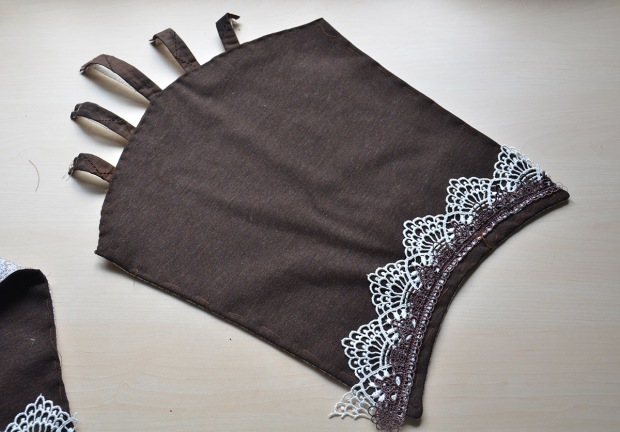
The sleeves consist of three main sections. The first is made up of several strips of fabric that connect to the bodice. The second section is simple, made from brown stretch fabric and decorated with lace. The final section is the cuff, which will tie closed and also have lace details.
…
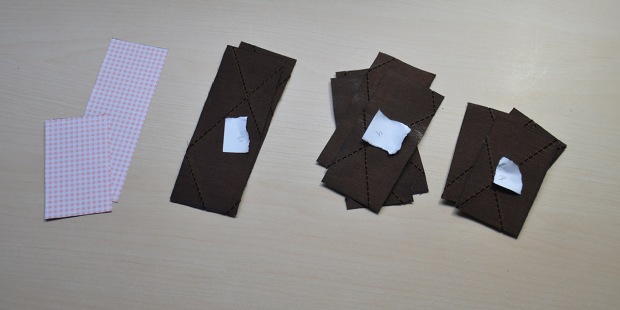
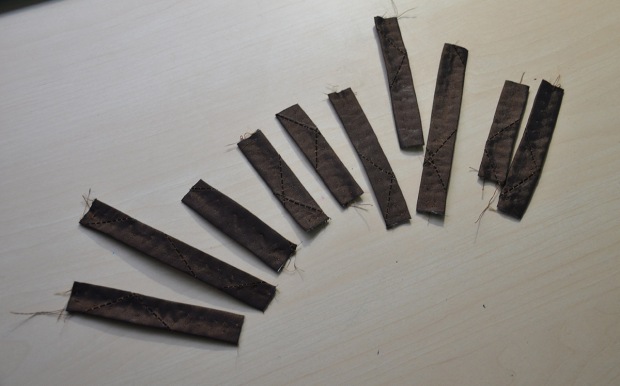
The strips on the first section are made up of rectangles. I’ll be using five on each sleeve, one that is five inches long, two that are four inches, and two that are three inches.
The edges were all turned inward twice to create a finished edge that won’t fray.
To give the pieces shape I cut strips of lace that were slightly shorter and sewed them to each edge. The lace will lay flat against the shoulder and the fabric strips will puff out. This isn’t the most practical thing to do, but it looks pretty!
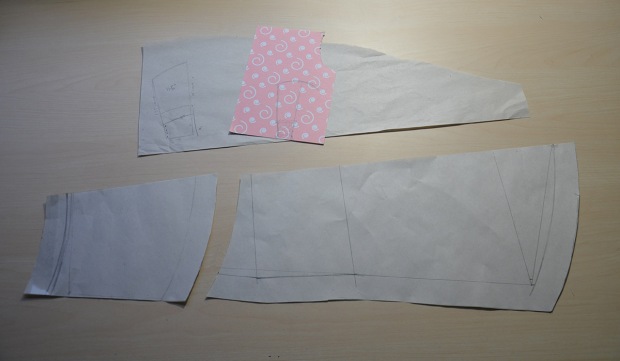
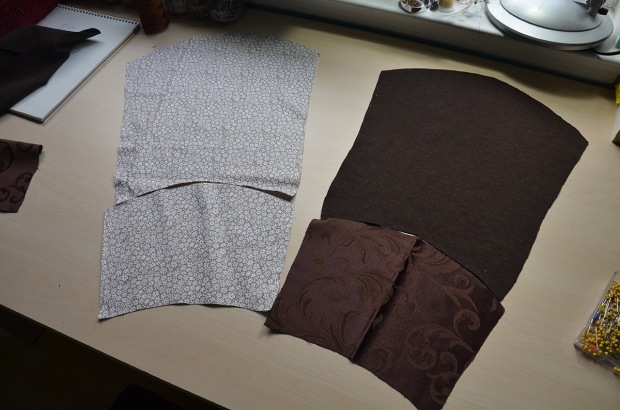
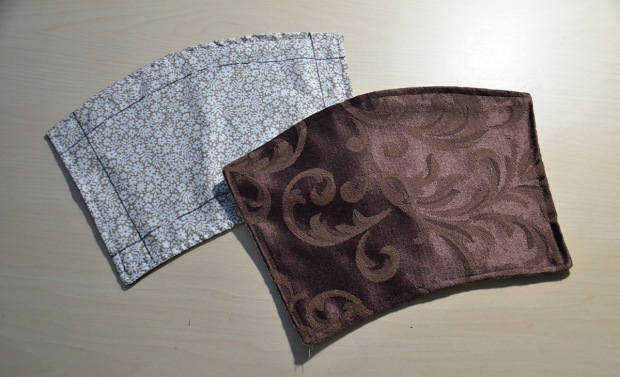
The pattern for the other two sleeve pieces looks like this, I drafted it off of my arm measurements.
Then I cut it out – once from my brown fabrics and again from cotton, which will be used for lining.
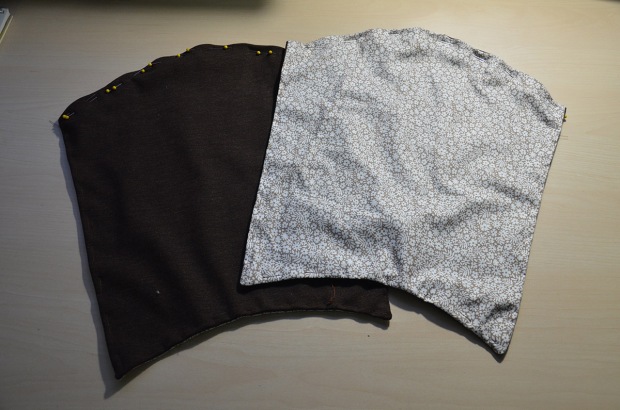
I left a one inch seam allowance on everything so I could “pillow case” the pieces to create finished edges.
When that was done I stitched around each side to make sure the edges won’t roll over.
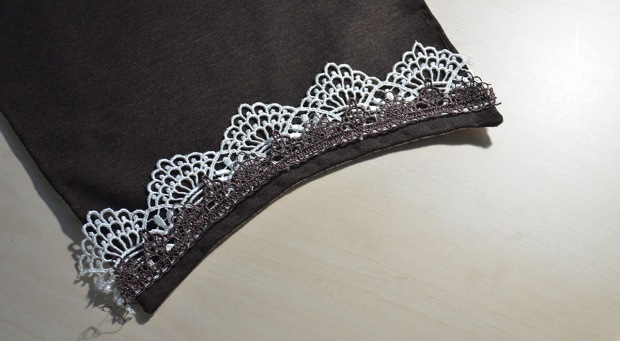
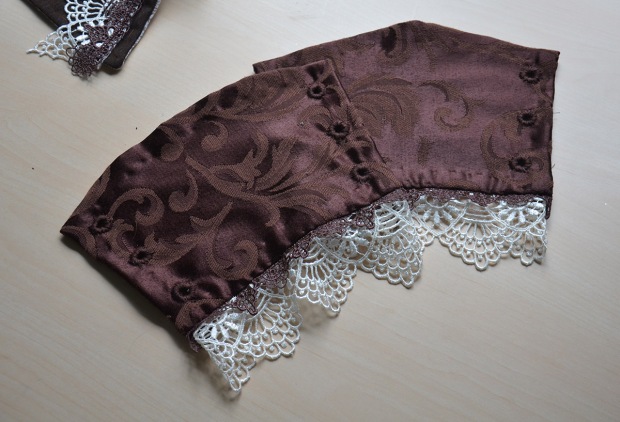
I was originally going to decorate the sleeves with ruffles but I decided to use two pieces of lace instead. I’m not sure they quite go together, but from a distance it looks alright!
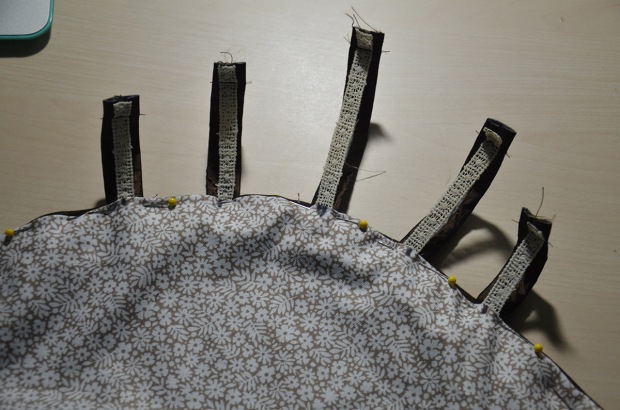
Once the lace was stitched on I added the strips I made earlier. They are placed one inch apart and the largest one is in the exact center.
Then it was time to work on the cuffs! For these I turned each edge over a half inch and stitched them down.
I sewed lace onto the bottom off the cuff, then stitched eyelets onto both sides.
The cuffs got stitched onto the rest of the sleeve and sewn up the side. I seem to be missing photos of this, but it shouldn’t be too difficult to visualize!
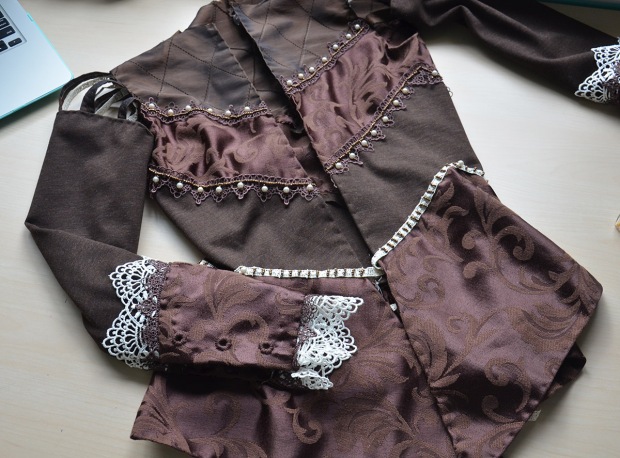
Once the sleeves were complete I attached them to the bodice.
Now that all the exterior work was done I could sew in the lining! I’m not sure why I don’t have photos of this, but I just pinned the lining in place and whip stitched around the edges.
Once the lining was in I stitched the eyelets and declared it complete….unfortunately there were a few complications when I actually tried it on.
– The fabric was buckling at the lacing point. I fixed this by sewing a boning channel into the interior of the garment and adding a long piece of hooping wire.
-The sleeves were too tight – I could fit into them but they reduced mobility by a lot. I ripped out the side seams and restitched them with a quarter inch seam, which left me with an extra half inch.
-I removed one of the five pieces that hold the sleeve to the bodice. The back most one was also restricting mobility.
…
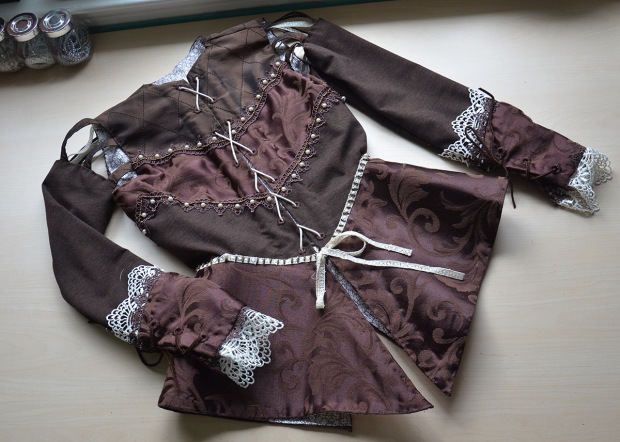
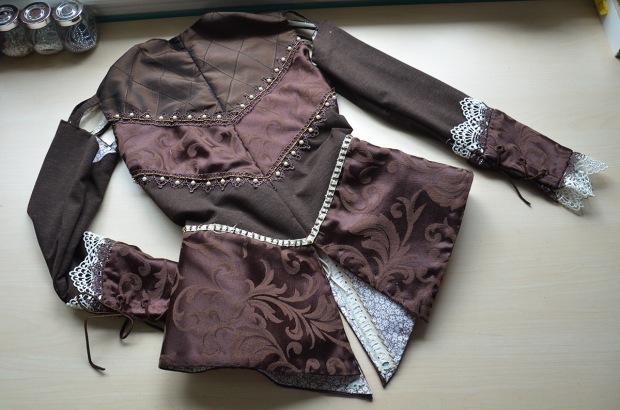
The finished garment looks like this! I love how this looks, and it was really fun to make. I love structured things and pairing that with fiddly details was really enjoyable. I think i’ll end up making more things similar to this in the very near future.
I don’t have photos of it worn yet, i’ll get them after finishing the tunic and pants that go with it.
Thanks for reading!
Hannah Peeler On Nov 21, 2014 6:21 PM, “Angela Clayton’s Costumery & Creations” wrote:
> Angela Clayton posted: “This is part two of making my > renaissance/baroque hybrid doublet! Part one talks about drafting the > pattern and making the body of the garment, it can be read here. I decided > to keep the sleeves relatively simple to try and tie it back into the > renaissan”
It looks wonderful!
How did you get the diamond effect? I thought it was pin tucking when I first saw it but on closer photos I dont believe it is 🙂
xx
This is one of my favorite pieces of yours! The design and implementation are just fantastic!
I love the finished product! The different fabrics coordinate beautifully, and I love the sort of steampunk-ish look it portrays.