So it’s been a while! Sorry about that, none of my projects were in a good stage to write about so I decided to take a week off. But now i’m back, with new projects and lots to blog about!
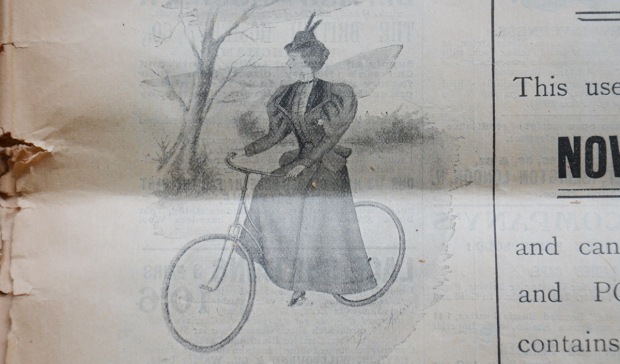
Todays project is one i’ve had planned for ages but didn’t get the material for until recently. It’s a late 19th century cycling costume that consists of a jacket, pair of bloomers, shirtwaist, and hat. I’d originally planned on making the costume without a jacket, and basing it almost entirely on this ensemble.
But then I was contacted by organiccottonplus.com who asked if i’d be interested in reviewing one of their materials, and they had a wool herringbone that went perfectly with the fabrics I had already purchased for this project. So I decided to add another piece to the costume, and i’m really glad I did because I think it turned out wonderfully!
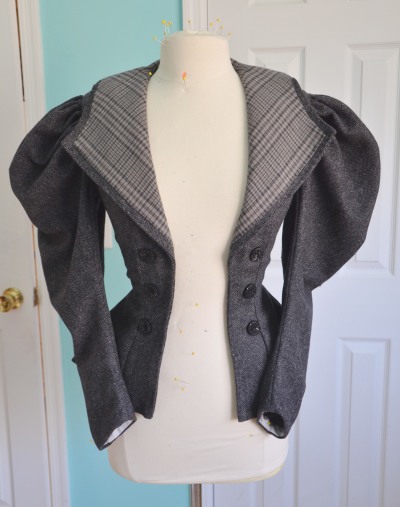
Eventually the jacket will look like this, but this post is just about the beginning stages of making it.
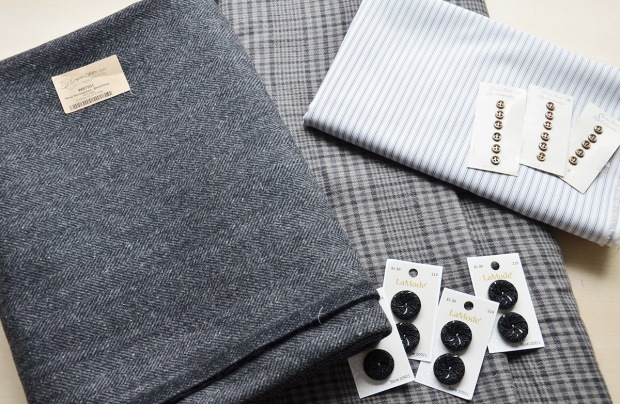
I’ll talk about materials first. The bloomers will be made from a plaid flannel shirting and the shirtwaist from a striped cotton. The shirtwaist will close with snaps and vintage shell buttons. For the jacket I purchased black buttons from Joanns in the style 219. I also have some grey ribbon to make a tie out of, and plain black wool for the matching hat, but neither of those are pictured.
The jacket will be made from two yards of that wool herringbone I mentioned, in the grey/black variation from OrganicCottonPlus.com.
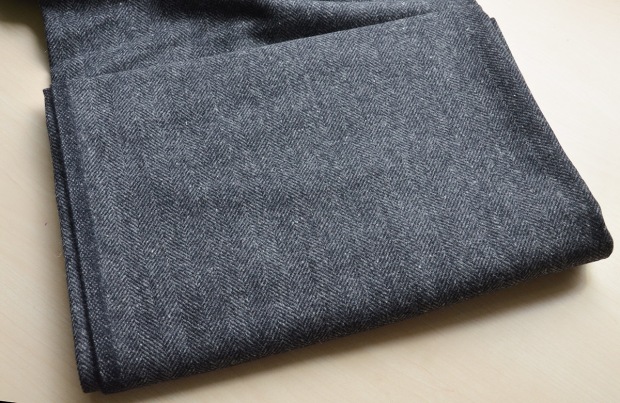
I really like this fabric, and i’m not saying that because I was sent it. It’s the type of material I would pick up if I saw it in a shop because it has a really beautiful subtle texture and print to it. I think fabrics like this make a relatively plain jacket look a lot more interesting without overwhelming the design.
I was a bit worried when I ordered this that the grey/black would have too much contrast, but that wasn’t a problem at all. The color variation adds a lot of depth to the material without making the print look busy.
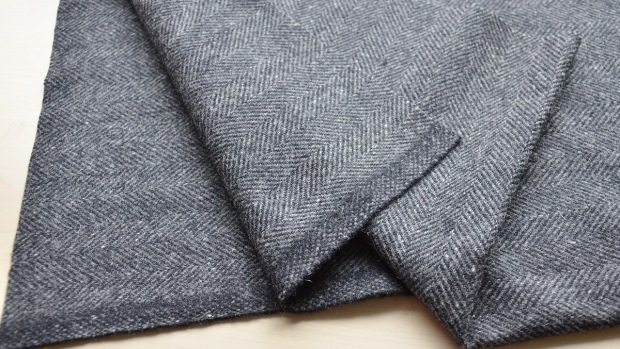
It’s thicker than a typical suiting but not so heavy that it’s difficult to work with. I actually quite like the weight of it, since it makes the jacket look a bit sturdier which fits the purpose a cycling/sporting jacket would have in the 1890s.
Overall it was really nice to work with and I love the texture it has! It’s a bit outside the price I would usually pay for fabric, but I think it’s reasonably priced considering it’s 100% wool and made in the USA. The listing for it is here if you’re interested.
Now onto the making and designing of the jacket!
The most difficult part of this project was coming up with the design. I didn’t have enough material for a double breasted jacket (which were the most common), the jackets that buttoned at the front were a bit more modern looking then I wanted, and the open front jackets looked quite similar to the plaid jacket I made recently.
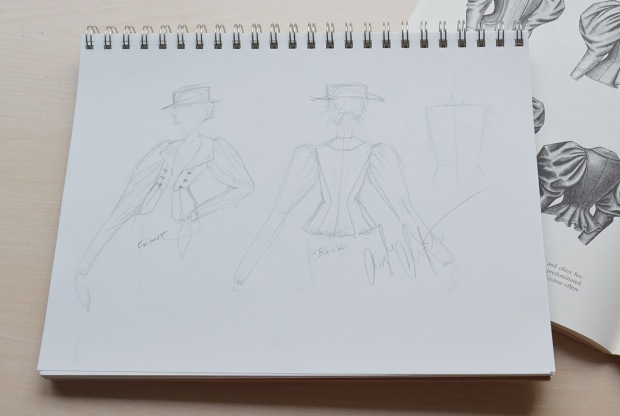
After looking through dozens of pinterest boards and books I decided to flip through the vintage magazine my Great Aunt sent me and I found a perfect design on the first page! It has the big leg of mutton sleeves I wanted, a flared skirt, and a really interesting boxy lapel.
I made a few small changes to that design and decided on some interesting back seaming. Then I sketched it all out so I would have a better reference to look at when draping.
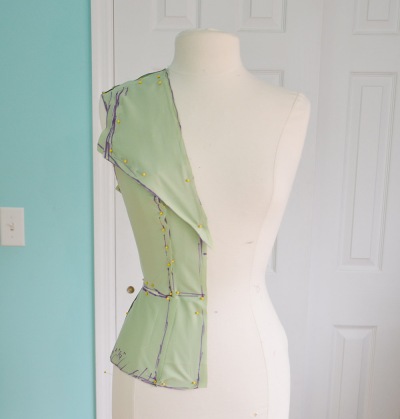
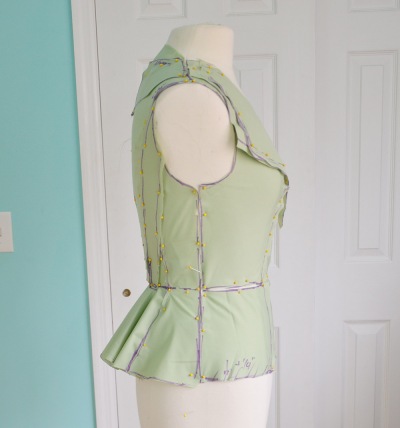
The draping process took a while since I kept changing things, but it wasn’t too difficult. The only part I struggled with was getting the collar to look right. The proportions in my reference photo and sketch wouldn’t transfer onto the dress form so it ended up being a bit higher and less boxy than I had wanted.
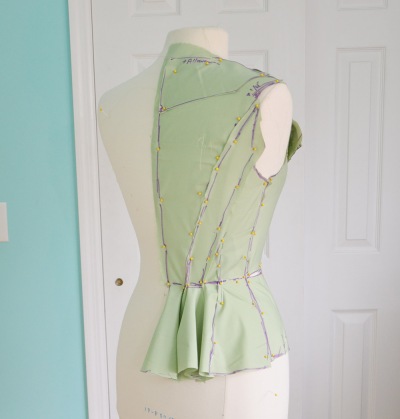
All the pieces were unpinned from the form and ironed.
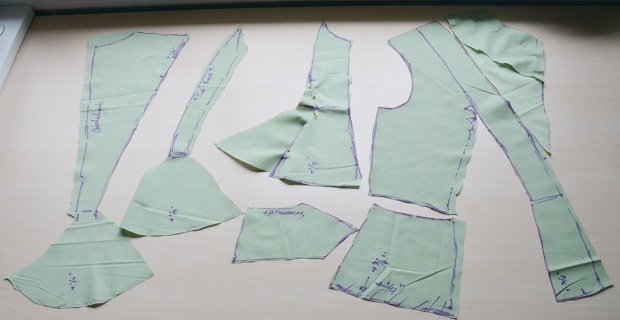
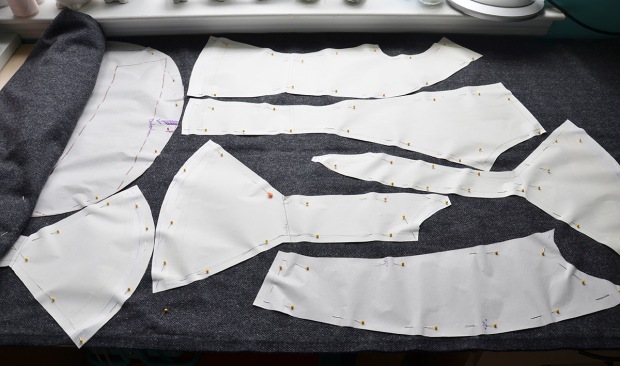
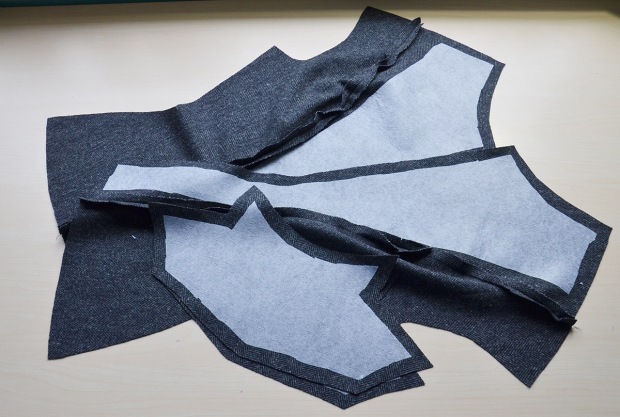
Then I transferred them onto paper. I lowered the waistline of each piece by a half inch, made the flares a bit bigger, smoothed out uneven edges, and added seam allowances. Here is the finished pattern.
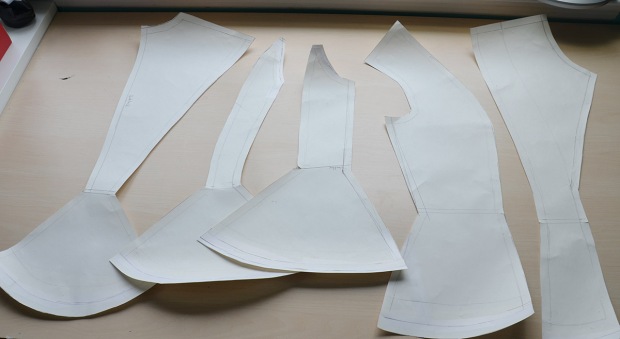
I made a mock up for it and tried it on. The side seam needed to be taken in, but I was expecting that because my shape when wearing a corset is very different from the shape of my dress form. There were a few other minor alterations like making the arm openings more narrow and lowering the hemline, easy stuff.
I’d originally planned on adding an extra inch and a half to the hem so the length would be similar to my reference photo. But after making the mock up I realized how much fabric this pattern takes to create, and I didn’t think I would have enough material to accommodate the hem addition and big leg of mutton sleeves.
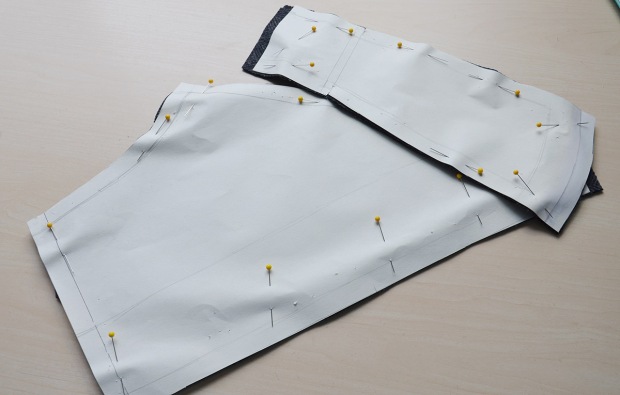
So I only lengthened the pieces by a half inch. And after the other alterations were made I pinned my pattern in place. As I did this I made sure each piece lined up with the grain line and herringbone print.
After pinning everything down I had six inches of fabric left over – and that’s before cutting out the lapel lining and collar. So it was a little bit tight, but a better end result than I was expecting. I thought I might have to take down the sleeve volume which would have been a shame!
The lapel lining was cut out as two pieces, cutting it the other way would have the herringbone print going horizontally and I didn’t want that. This seam wasn’t visible in the end anyway.
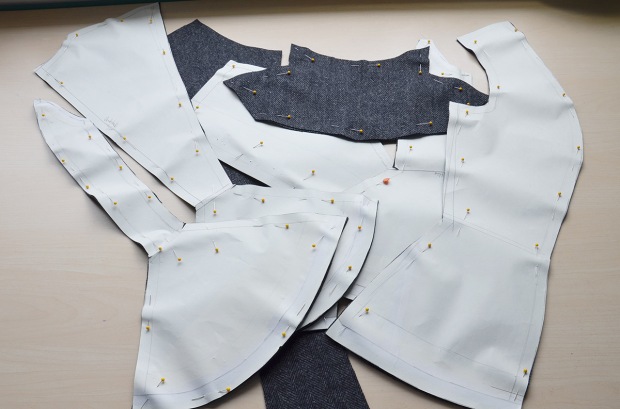
Here are all the pieces (except for the sleeves – i’ll talk about those in part two) cut out!

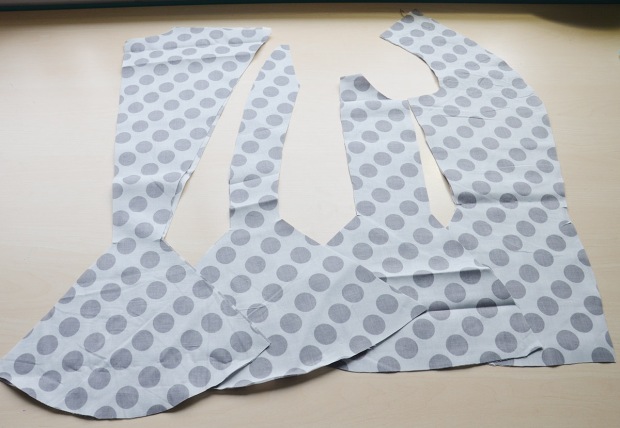
And here is the lining cut out – i’m using a polka dot quilters cotton because the print made me happy!
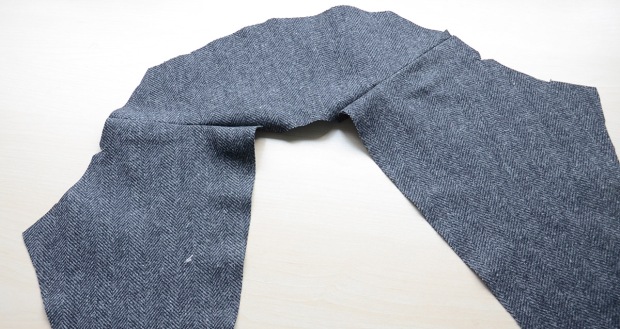
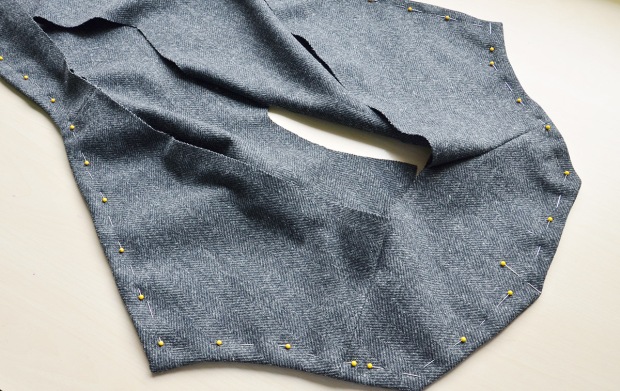
Then the pieces got sewn together. I sewed all the back panels together, and the two front panels together, but left the side and shoulder seams open to make the lapel and collar easier to sew.
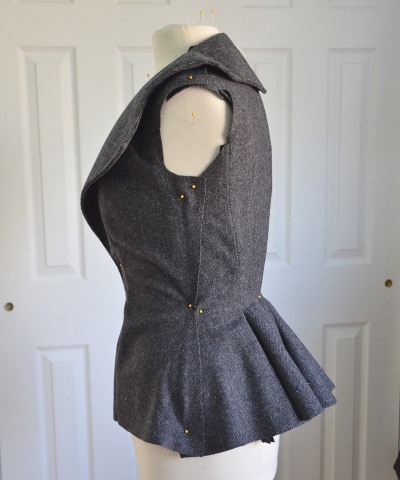
This is before ironing, but right away you can see the shape start to form!
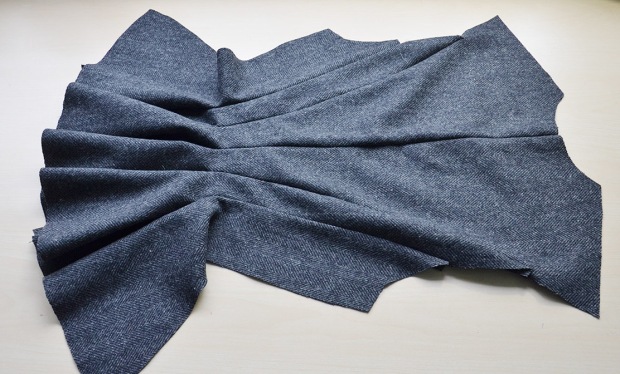
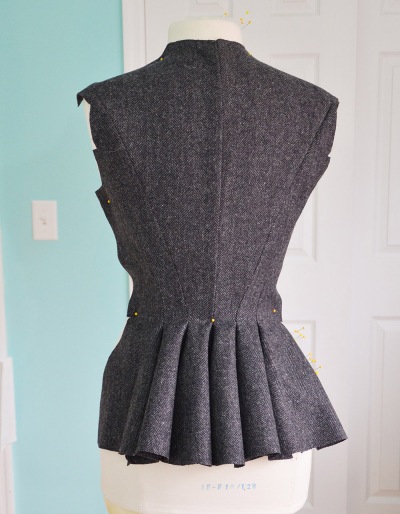
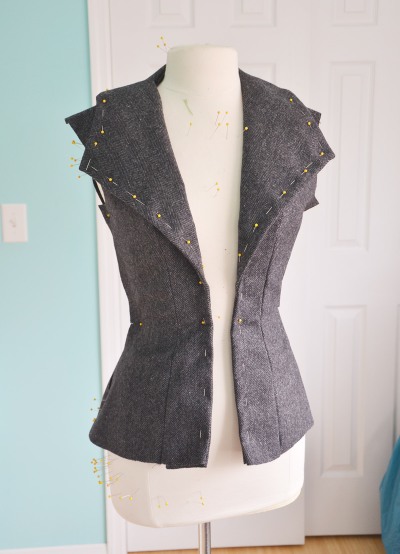
It looks extra snazzy on the dress form. I really love the flared back seaming, it’s easy to do but looks so pretty.
With the back done I moved on to the lapels and collar. I learned on my last jacket that these should be done as part of assembly, not an afterthought.
So I went ahead and fused interfacing to the wrong side of the front panels, the lapel lining, the collar, and the collar lining. I made sure the interfacing didn’t extend into the seam allowance since I didn’t want bulky edges.
Then I pinned the collar to half the shoulder seam, which was pretty much the most confusing thing ever. I kept trying it on and repinning things to make sure I had it right.
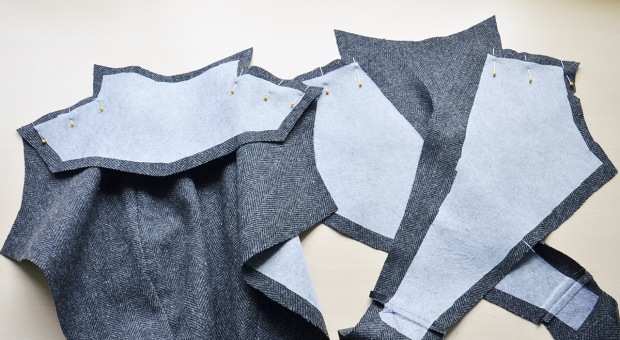
The seam was sewn then ironed so everything was flat – here is the shape of the lapel/collar lining.
The lining was pinned to the right side of the front panels, then sewn in place with a half inch seam allowance.

I clipped the corners and turned the jacket the right way out. Then I used a colored pencil to make sure all the edges were nice and pointy and pinned them in place.
This went so much better this time (yay for figuring out correct sewing order!). I also left enough room for the collar to turn outward, so I didn’t need to sew on an extension like I did with my plaid jacket. It’s always nice when you can learn from past mistakes!
I sewed around the edge by hand with small running stitches and that was pretty much it!
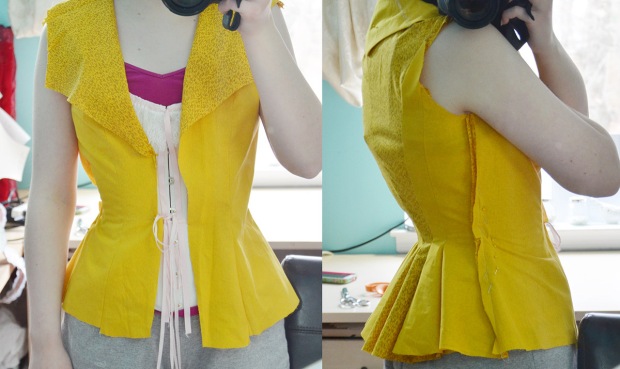
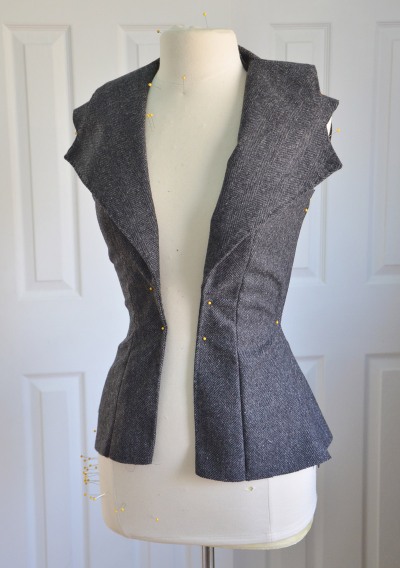
Even though I didn’t love how it looked on the mock up, I really like how the collar shape turned out.
I did end up trimming the hem a bit at the sides, since it dipped lower there than at the back which looked kind of odd.
Look at those seams, I love them.

And that is everything for this post! Next time i’ll talk about the sleeves and finishing details.
Thanks for reading!

Great fabric choices. I am looking forward to seeing the finished outfit.
Wow! Love it!
LOVE It! I want to make one now! Those flared back seams are gorgeous!
Victoria
http://www.rufflesandgrace.wordpress.com/
I agree the seams are gorgeous!
This is amazing! You are super skilled!!