Todays post is about a new project! It’s actually the first piece in a mini collection, which was inspired by monarch butterflies. I mentioned this in my progress report for last month, but since then I’ve had more ideas and plan on expanding the series to be much larger. I’ll be making a post all about the inspiration/fabric choices/sketches/concept art soon but for now I have a regular the making of post.
…
This particular design came to me right before bed. I wanted it to be a very literal representation of a butterfly but a little more practical then sticking a butterfly design on a bodice. I also wanted to incorporate beading and piping, since I love both of those techniques but couldn’t fit them anywhere else in the collection.
Eventually I came up with this.
When it came to drafting I realized the proportions wouldn’t work quite like I had planned. The bodice also had a heaviness that didn’t work well with a skirt, so I switched that to be a pair of velvet shorts instead.
The drafting process went surprisingly well considering it’s a somewhat complicated design. I managed to draft it in two pieces, without any darts or side seams. This was great because it meant my design wouldn’t be broken up at all. I drew out the markings I wanted before removing it from the form.
Once removed from the dress form it looked like this.
I used this as reference to create the lining pattern, which looks like this. The lines are boning placement.
Then I cut the fabric apart using the lines I had drawn as a guide. Each line represented a change in fabric, or where piping would go, which is why it couldn’t be made as a single piece. The end result was kind of confusing…
The finished pattern was pretty confusing too.
 I started by cutting out all the orange pieces. I used a crayon and clear ruler to mark a one inch line all the way around the backside of each piece.
The fabric was folded over until the raw edge touched the line, then pinned and eventually sewn in place with tiny stitches done by hand. This meant every edge was finished with a half inch seam allowance.
I did the same thing for the velvet pieces.
Then I made four and a half yards of piping from cord and velvet material. I ironed the piping open, then pinned and hand sewed it to the edges of the orange panels. This is very difficult to explain but the end result looked like this!
Soon after taking this photo I sewed the front seam together and finished the edges of the black panel on the righthand side. I did this with the same one inch foldover method.
Then I looked through my bead collection and came across some fake pearls, round black beads, and some dark seed beads which would compliment the project perfectly.
I didn’t make too much effort to keep things symmetrical, but I probably should have. I freehanded everything, which made it much faster, this step took a little less then ninety minutes to complete.
Once the beading was done I moved on to boning and lining. The garment definitely needed boning since the wigs had a tendency to fold over instead of sticking up.
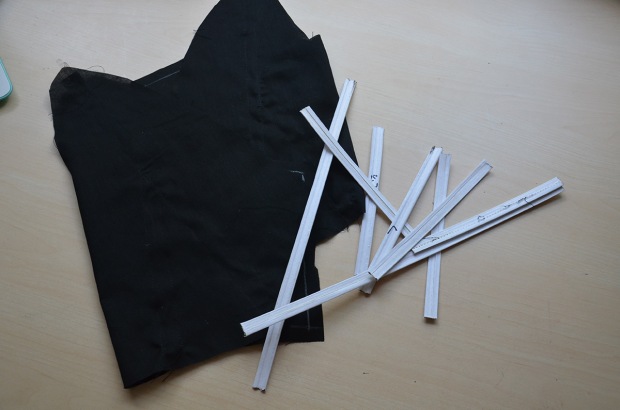
I used hooping wire for boning, three pieces in each side. Not enough to get any reduction, but enough to give the garment some structure. I used cotton for lining and ribbon to create boning channels – I actually ran of of 3/4 inch ribbon part way through so I have two different channel sizes. Oops.
This is probably the prettiest lining job i’ve ever done. It was sewn in entirely by hand shortly after taking this photo.
I added eyelets and it was done! I ended up running out of this thread color before I could reinforce all the eyelets so I’ll have to go back and finish them off whenever I get around to buying more in that shade.
For now it’s fine, wearable and pretty adorable if I do say so myself.
It felt like it was a pretty quick and easy project, but looking back it took about 18 hours over a three day period. This is mostly because the garment was almost entirely hand sewn.
Thanks for reading!


