It’s been almost two weeks since my last post, which is pretty awful. I had a month where I was feeling very uninspired and didn’t get very much done. Then my family was traveling and I ended up going almost two weeks without sewing, for me that’s kind of crazy since I usually sew everyday.
But i’m back in the swing of things now! I have a few new projects already started, and plans for several more. I’m feeling really enthusiastic about all of them so I think this next month will be a lot more productive. And the more productive I am, the more blog posts I write, so I should be getting back to my twice a week schedule soon.
As much as I want to post about the things i’m actively working on, I should probably start by blogging about the dress I finished almost a month ago.
…
I’ve already written about making the bonnet that goes with this dress, that post can be read here. But today i’ll be talking about the process of making the actual dress.
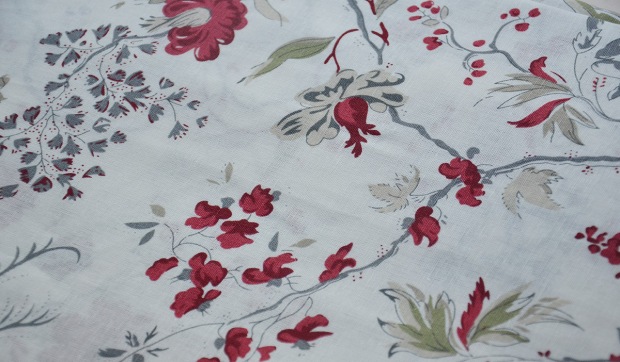
This dress was inspired by a set of curtains. Yes, this is another curtain dress. When I was in Ikea I saw this set which reminded me of Chintz print dresses from the early 1800s.
The more I’ve worked on this project the more modern I think this fabric looks. It definitely has a different color palette than chintz dresses had a couple hundred years ago, and the pattern is a little more abstract. I still really like the fabric, but i’m not sure if it was the best choice for a historical project.
After I bought the curtains I began searching for inspiration online. Almost a year ago I pinned a few photos of this dress, which I decided to use as my main reference point for this project. I also used this blog post for more reference images, since it has many detailed photos of the back of regency bodices.
Then I got to draping the pattern. This was quite tricky to drape since I wanted a low neckline, but not too low. And I wanted a tightly gathered bust, but not so tightly gathered that it looked bulky. It was difficult to balance those things but after a lot of fiddling I had something I was happy with!
When it was removed from the dress form it looked like this. I ironed it, then copied it onto paper and added seam allowances.
And here is the paper pattern.
After making a mock up I decided I was happy with the pattern. So I cut each piece out twice, once from the curtain fabric, and again from a white linen which will be used as lining.
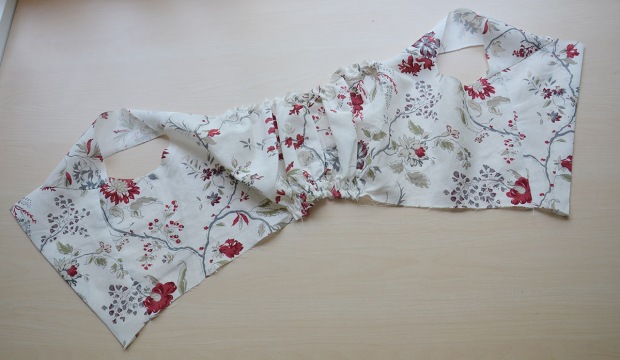
Then the front side of the bodice was gathered down by hand.
When the gathering was finished the back panel and strap got sewn on.
I did a quick little fit test here before moving on.
Then the raw edge around the armhole got turned over and sewn down.
Here you can see the peculiar patterning on the back. This was very common on regency dresses and I actually really like how it looks. The only thing I don’t like is drafting sleeves that fit into those funny arm holes…
I went ahead and sewed together my lining. Then it was gathered and had the edges around the armholes turned over.
Now it was time for the dreaded sleeves. But for once this went surprisingly well! I drafted a pattern with a few measurements and a lot of guess work and didn’t have to make any alterations! The mock up fit perfectly. So that was awesome.
The sleeves got cut out and darts were sewn in.
Then the bottom edge was turned under.
And the back seam was done up with french seams.
The sleeves got sewn on by hand with little whip stitches.
Now it was time for lining. I pinned the lining to the neckline of the bodice with the right sides facing each other, then stitched a half inch away from the edge. When it was turned the right way out the neckline had a finished edge. Then I topstitched around the neckline by hand, to keep the lining in place.
The lining at the back, bottom, and around the armholes was left open. Eventually the lining around the armholes was whip stitched down, so it covers the top edge of the sleeves, which was left raw. The back and bottom edges can’t be sewn down until the back closures and skirt are attached, so that will be done later on.
Here it is with the lining sewn in!
And here it is on my dress form. As I said, I don’t love this print for a historical costume, but I am pretty pleased with how this bodice turned out. Two of my recent (as in within the last year) big project failures have been Regency era pieces, so i’m happy to finally have one go as planned!
And as a bonus, it’s really comfortable compared to most of my historical dresses.
Thanks for reading – I think I will have a fabric haul up on Friday!


